Sometimes your camera’s exposure range seems to be too limited when you want to be more creative with your photography. It’s just too good at capturing light, especially in brighter scenes. What if you need the ambient light to be lower and you don’t want to wait until dusk? There is an add on accessory that can move time forward towards the dimmer light of evening. That is an ND filter.

ND Filters (Neutral Density) are used to decrease the amount of all wavelengths (colours) of light that enters a camera, equally. They are neutral to prevent any colour cast. They allow larger apertures and slower shutter speeds in bright light and extend the exposure range of a camera.
This is a very useful piece of gear, not too expensive (on smaller lenses) and the wide variety of sizes and types mean they can be attached to any camera lens. There are a few things to remember when using them so, read on for an in-depth description and details of how to use them.
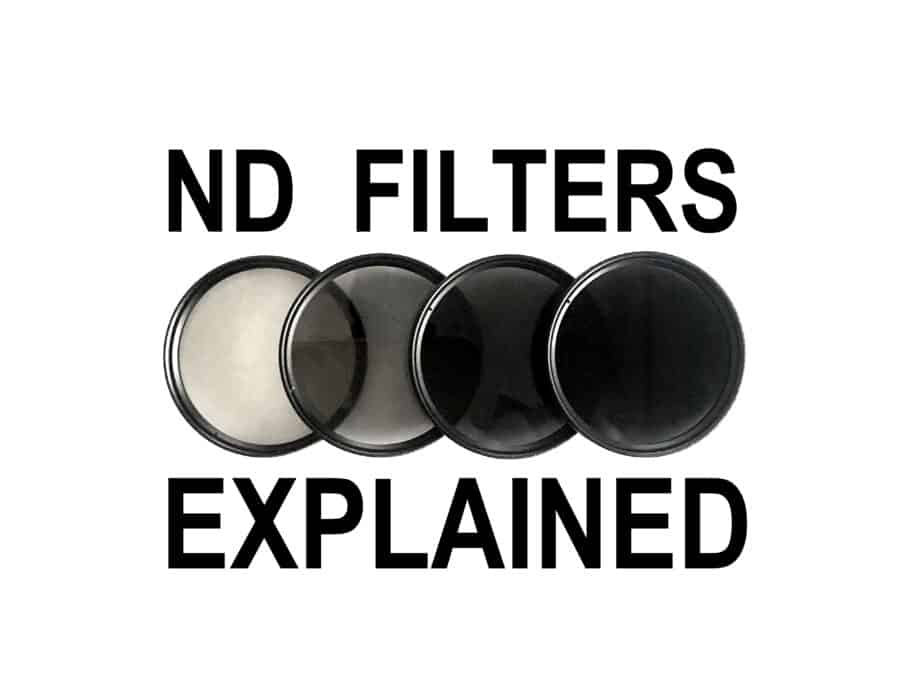
Illustrated Guide to Using ND (Neutral Density) Filters
Detailed Description of ND Filters
ND filters are various shades of grey resin or glass filters that decrease the amount of light received by a camera’s sensor without affecting any other aspects of the image. They have no effect on the colour, contrast, sharpness or quality of the image. They are neutral in all respects except luminance.

They are fixed to a camera by screwing them onto a lens or sliding them into a carriage that is fixed to the front of the lens. They usually vary in density and therefore, light transmittance can be modified from 1 stop up 16 stops. That is a massive range of light loss that can be utilised.
How Can I Use an ND Filter Creatively?
There are two main ways to use your ND filters to create effects that would otherwise be difficult without them, especially in very bright or sunny situations.
- Shutter Speed (Allowing very slow shutter speeds in bright light)
- Aperture (Allowing very large aperture openings in bright light)
Shutter Speed – A bright sunny day would usually make a photographer very happy but what if you want to capture some extended motion blur without overexposing the image? This might be impossible on a very sunny day even if your camera is set to the lowest possible ISO number and the smallest possible aperture! This is where the addition of an ND filter on the end of your lens can time-travel you into the evening where the light is dimmer. Now you are here in the twilight you are free to extend your shutter speed dramatically to many seconds or even minutes.


The ND filter will allow you to adjust your exposure balance to favour a very long slow shutter without overexposing the image. This will allow you to capture some extreme motion blur for very creative photos. You will be able to smooth out gently rippling oceans to a resemble a flat satin millpond. Stormy crashing oceans could be reduced to a thick hazy mist. Scudding clouds could be transformed into linear streaks or gashes in the sky.

You can infuse anything that is gently moving with the essence of movement bringing a new dimension to a static image. Meanwhile, everything that is solid and immovable in the scene will remain perfectly sharp and focused. Moving water like fountains and waterfalls are great subjects also. They can be magically altered into a smooth, flowing mist. Because of the long exposure, the luminance of the scene will appear to be as bright as the scene would have been if exposed as normal without the filter.

Photos by Oscar J Harper
Aperture – To take control of the depth-of-field you need to have full control of the aperture opening sizes. To fix the aperture at a large opening to allow a very shallow depth of field and very selective focussing with a blurred background, you would usually need a fast shutter speed to balance the exposure.
Sometimes, on very bright days you may wish to have a shallow depth of field (using a large aperture opening) and a slower shutter speed to record some motion blur. Applying the darkening effect of the ND filter will allow you to maintain the large opening of the aperture, that we require and slow the shutter speed enough without overexposing the image. Now we can pick out an object in an extremely shallow depth-of-field to focus on and guarantee a nicely blurred backdrop and foreground while recording adequate motion blur for the desired effect.

This is particularly helpful if you have a very fast lens ie one with a massive maximum aperture opening like F1.8 or F1.4. These can let in so much light that the fast shutter speed required would prohibit long exposures without the use of a Neutral Density filter to darken the scene.
The Different Types of ND Filters
There are several different types, sizes and qualities of ND filter. Here is a list of the most commonly used types:
Fixed Neutral Density Screw-on Filter – These are circular filters designed to screw directly onto the end of your lens but they only fit one size of lens. You can buy a wide range of sizes but if you have a lot of different sized lenses that you would like to use for ND photography, it can get very expensive. One tip to make it a little cheaper if you have different sized lenses is to buy the filter to fit your largest lens then buy step-down rings to adapt them to your smaller lenses.
They also have only one fixed density rating and therefore limited use in varying lighting conditions. It is common to buy a set of fixed density offering different degrees of light-blocking like a set containing a 1 stop, 2 stop, 3 stop and 4 stop. Again, if you have several different sized lenses, it becomes prohibitively expensive.

Slide-Over Rectangular Filter – This is a system that requires a carriage that fixes to the end of a lens via a special screw-on ring. I believe that you can also acquire adaptor rings that allow the carriage to be fixed to different sized lenses. The filters themselves are resin or glass, rectangular or square. There are fixed density filters with a uniform density across the whole filter or graduated filters that fade out from dark to clear.
Several filters can be stacked in the carriage at once to increase the light-blocking rating or to create other visual effects like a fade from the bottom and the top. This is a slightly more flexible system than buying individual sets of screw-on filters for all of you’re lenses.

Variable Neutral Density Screw-on Filter – These are very special circular screw-on filters made up of two filters joined by a free-spinning swivel link. They have the ability to change the density by turning the outer filter in relation to the inner fixed filter which increases or decrease the light-blocking ability of the filter. They usually have a fixed range of Stops like 2 to 8 or 1 to 10. They are compact and save you from carrying around a whole set of single density filters.
There is one issue with these types of filter. When you are close to the upper end of the density setting of the variable filter you begin to see an “X” shape in the middle of the image and you may have to dial it back a little which makes the upper end of light-blocking virtually unusable. The more expensive, high-end variable filters may produce this negative effect to a lesser degree.

ND Filters in Landscape Photography
The use of ND filters by landscape photographers is well known. They often photograph big, wide spaces with wide-angle lenses and they want a huge depth-of-field and a low-noise image. They already use a low ISO and a small aperture so their shutter speeds will be relatively slow but still less than 1 second. What if they want to inject some movement into the clouds or blur out the ripples on a body of water to create a surreal effect?
This is exactly why they employ the use of ND filters. They can maintain the low-noise ISO setting and the small aperture to keep everything pin-sharp. They can also have the super long shutter speed of 30 seconds or several minutes to get the added dimension of movement or mystery and still produce a well lit, well-exposed photograph.

Graduated Neutral density filters are also very useful in landscape photography. These are the lenses that fade from dark at the top edge to clear near the centre. They usually are the rectangular filters that slide into a carriage. They are very useful in high contrast scenes where, for example, the foreground is quite dark but the sky is very bright. There may be a chance to blow-out the detail in the sky by overexposure. So, if you drop a graduated filter over the lens to block out some of the light in the bright sky, the overall exposure will be more balanced with no loss of highlight details.

Combining ND Filters
If you have a set of single neutral density filters of the same diameter and screw thread, you can actually screw them together or stack them to produce darker filters. For example, if you have a typical set of a 1 Stop, 2 Stop, 3 Stop and a 4 Stop, you could stack then and additionally create a full range of Stops right up to 10 Stops with all four stacked together.

A 10 stop filter is great for creating extremely slow shutter speeds in bright sunlight. There are some issues with stacking in this way though. There will be four extra pieces of glass on the end of your lens that can pick up dust and fingerprints. All these extra layers that could have imperfections and set up flares or reflections. It all takes away from the purity of light received by causing refractions and reflections.
The other issue with stacking many filters is that you begin to see very pronounced, dark vignetting on wider lenses, that is undesirable. It’s like adding a dark tube to your lens. You can eliminate the vignetting if your wide lens is also a zoom lens simply by zooming into the scene a little.

Photo by Oscar J Harper

Photo by Oscar J Harper
How Are ND Filters Graded?
The numbering system of the Neutral Density filters is confusing and unhelpful. The filters are available in a number of densities, usually 1 to 16 stops of light blocking. There are several different numbering systems on the filters and none of them indicates how many stops of light they will block, which would be very useful.
They have an “optical density number” or an “ND” number. All we need to know as photographers is, how many Stops of light they block. See below for a simplified table reflecting the number of stops of light reduction each lens can achieve. Each ascending Stop number halves the amount of light that the previous one could block.
| ND Number (on filter) | Optical Density Number | Stops Reduction |
| ND2 | ND 0.3 | 1 |
| ND4 | ND 0.6 | 2 |
| ND8 | ND 0.9 | 3 |
| ND16 | ND 1.2 | 4 |
| ND32 | ND 1.5 | 5 |
| ND64 | ND 1.8 | 6 |
| ND128 | ND2.1 | 7 |
| ND256 | ND2.4 | 8 |
| ND512 | ND2.7 | 9 |
| ND1024 | ND3.0 | 10 |
| ND2048 | ND3.3 | 11 |
| ND4096 | ND3.6 | 12 |
| ND8192 | ND3.9 | 13 |
| ND16384 | ND4.2 | 14 |
| ND32768 | ND4.5 | 15 |
| ND65536 | ND4.8 | 16 |
The Pitfalls of Using ND Filters
As great as ND filters can be to improve your potential for creativity and extend the exposure range of your camera, there can be some downsides to using them. If you buy the cheaper range of filters there is more chance of optical imperfections and even an ugly colour cast on your images. The variable ND filter can leave your images with an ugly “Cross” shape in the centre of your images due to the way that the rotated pair of filters interact. As we discovered earlier in the article, stacking filters to achieve a higher light-blocking “Stop” number can result in some obtrusive vignetting on wider angle lenses.
Having said all that, using the ND filters in photography does unlock some creative potential that would be absent without them. You will no longer have to settle for uninspiring static or flat looking photographs when you can inject dynamic movement or serene calmness into your photographs, even on bright sunny days.

Related Questions
How do You Take Infrared Photographs With a Filter on DSLR Camera?
There is a way to take infrared photographs without a dedicated infrared camera or a converted camera. It’s all explained here in this illustrated guide.
What is Dynamic Range in Photography?
A camera has a range of luminance values that it can record from the darkest blacks to the brightest whites and all shades in between. It’s important to understand this to get the best out of your camera and push the boundaries of exposure. You can learn more about this in an illustrated guide here.