The usual goal of a photographer is to produce sharp, well-exposed, grain-free pictures. That should continue to be the goal…. for the most part. Sometimes it’s fun to mix things up and attempt to go against the grain. If you sometimes break the rules, you can produce something more interesting, moody or dramatic. What if we choose to include more grain or noise in a photograph to emphasize the gritty, raw quality that can lift some subjects? But how do you do it?
To take a grainy photo with a DSLR first select a High ISO number. Choose a suitable low lit subject. Choose a lower contrast subject to increase noise in the mid-tones. Shoot without a flash. Use a small aperture and slow shutter to extend the exposure time. Set the camera on a tripod.
(This post may contain affiliate links which means I may receive a commission (at no extra cost to you) for purchases made through links. Learn more on my Privacy Policy page.)
It’s actually quite difficult to take a very gritty, grainy photograph in the camera as the modern sensors are so good at reducing the noise produced by amplification of low-light scenes. For the best chance of increasing the visible grain in your photos, observe the following steps:
Steps to Intentionally Increase The Grain in Your Photos
01 – What Is a Suitable Subject For a Grainy Photo?
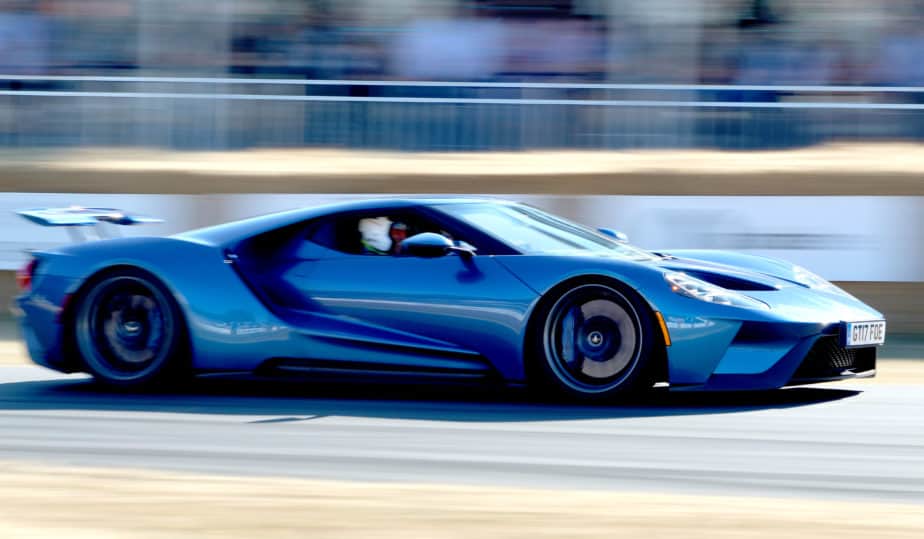
Fine detail will probably get obliterated by heavy grain so scenes with that should be avoided. Strong shapes, close-ups of faces, people and buildings would all be good subjects. Choose a subject and lighting that will produce some good mid-tones and soft shadows. The pure black and white areas struggle to yield much chunky grain during a faster shutter speed, so avoid an image that will be completely composed of large areas of black or white contrast.

“As an Amazon Associate, I earn from qualifying purchases.”
Check out the latest Canon DSLR cameras on Amazon US here.
Check out the latest Canon DSLR cameras on Amazon UK here.
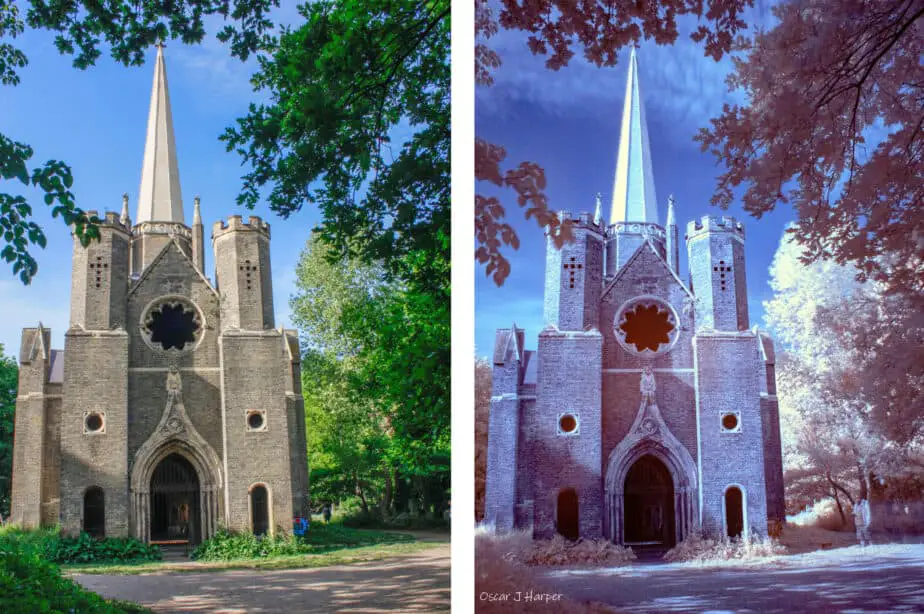
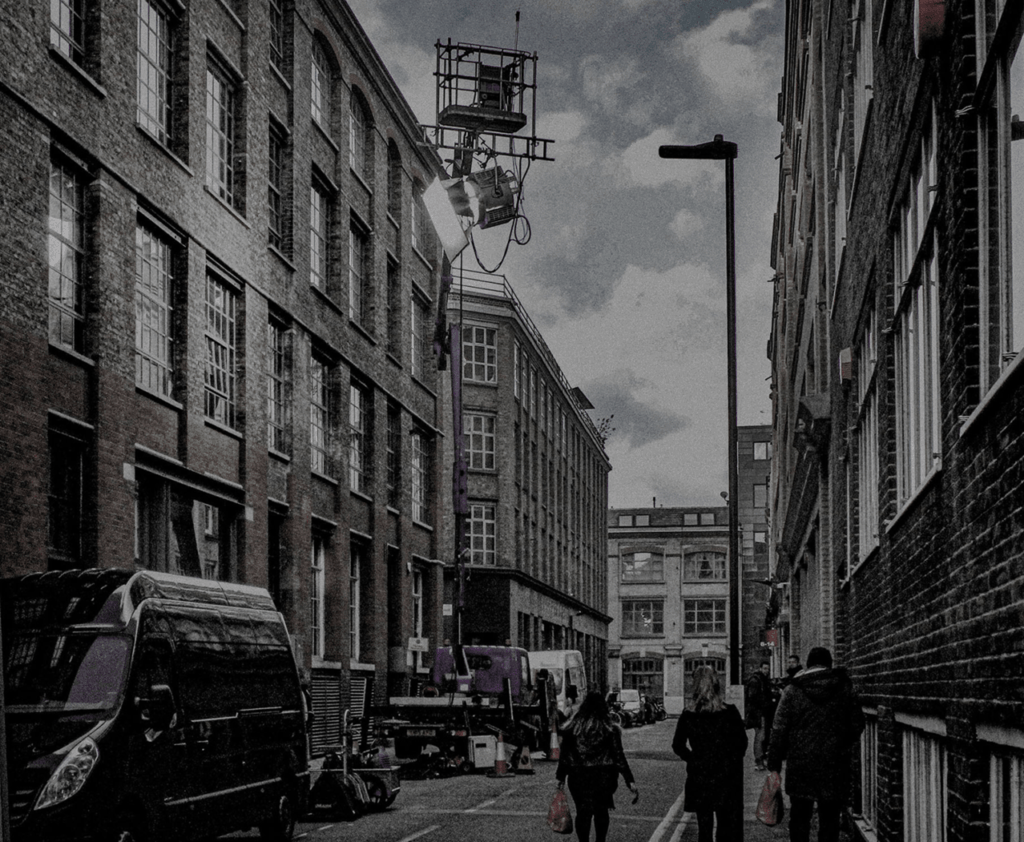
Choose a subject matter that will be intensified by the moodiness that high grain imparts. A gritty urban scene, graveyards, churches, ruined buildings, melancholy scenes, rusting machinery, lonely places, despair, isolation, creepy scenes etc.

Photo by Oscar J Harper
Shooting in black and white (or converting them to monochrome later) seems to intensify the character of a grainy photo by eliminating the distraction of colour and reducing the image to tones and textures.
02 – What ISO Should You Use to Capture a Grainy Photo?
The ISO settings on your DSLR camera are usually there to brighten up a too-dark image in low light. This can transform it into a bright, well-exposed image by boosting the amplification of the available light that is hitting the sensor. The amplification increases noise. Very little or no amplification will be processed when using the base ISO of 100. Therefore you must select a higher ISO number to guarantee some visible grain.
Higher ISO numbers encourage the camera sensor to gather more light by grouping the pixels together. The meagre available light signals are then boosted by amplification which artificially increases the brightness of the image.

High ISO settings force the groups of pixels into larger clusters to increase the amplification of light that has hit the sensor. The resolution and clarity of the image are degraded by the grouping effect causing a graininess due to aberration of pixels around the clusters. In digital photography, this is called noise and this can help to achieve the grainy look at high ISO numbers.
It’s basically like sound distortion when you turn up a speaker too loud but instead of sound, it distorts the received light by over amplifying. The grain can be massively increased with very long exposures causing noise to appear in shadows and highlights.

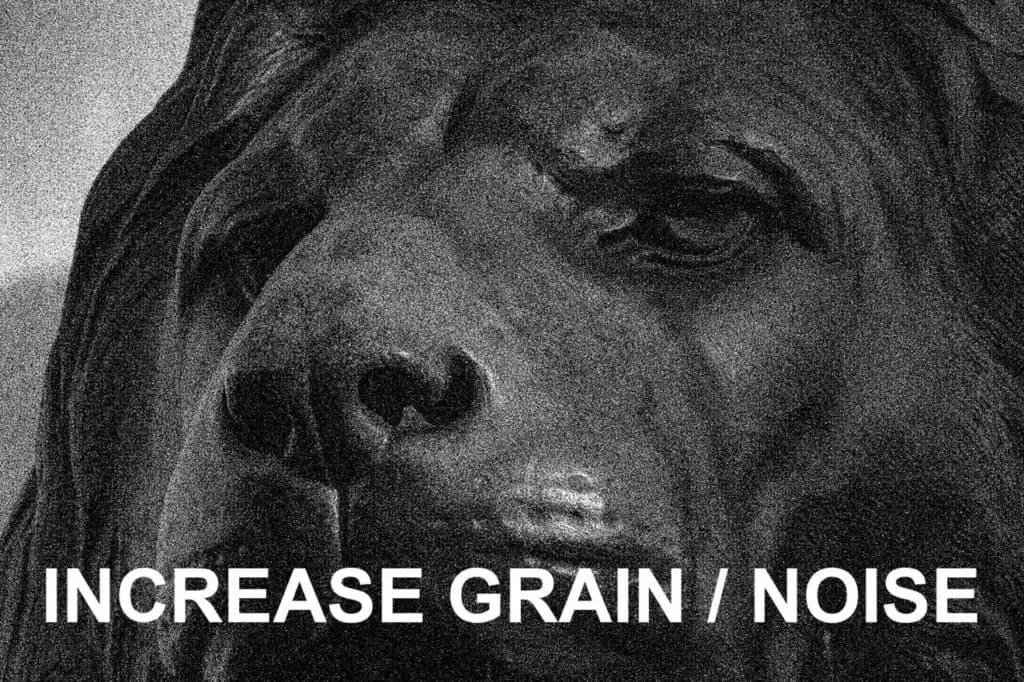
Very Chunky Grain/Noise Is Visible In The Shadows And Highlights
Photo by Oscar J Harper
So, it seems that to maximise the chance of grain in your images, you have to increase the ISO number. To start with, choose the maximum ISO that your camera can deliver. That might be ISO 6400, 12800 or higher. You have to make the light sensor work really hard to pull out some light from a dark scene thus increasing the unrefined, crude result of pixel amplification.

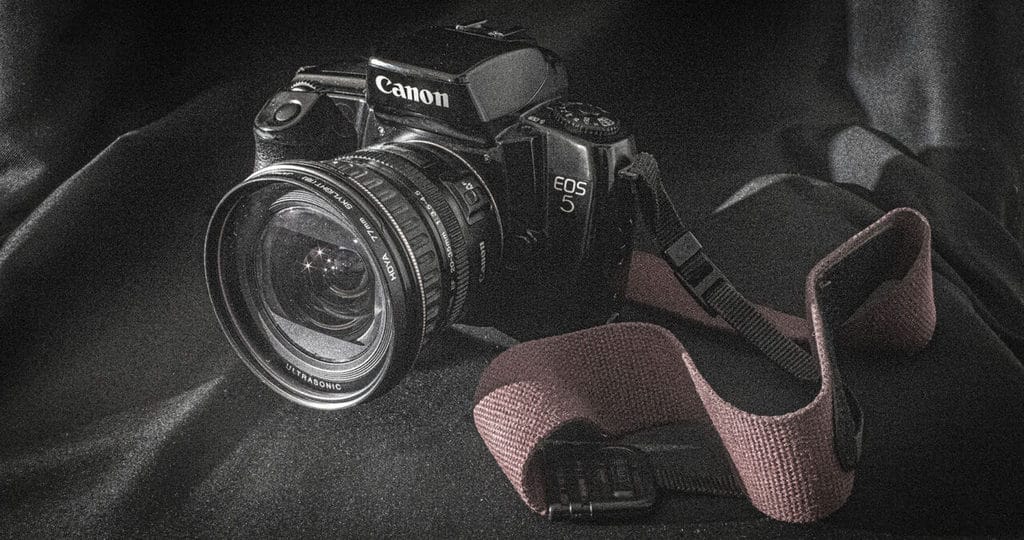
This Canon Camera Was Expanded To A Maximum ISO Of 12800
03 – Should You Use a Flash to Capture a Grainy Photo?
Using a flash generally will eradicate any chance of seeing any gnarly grain as the powerful light source can provide an abundance of reflected light for the sensor of the camera to process without amplification. Flash produces bright, well-lit cheerful scenes that are the opposite of the moody, dramatic compositions that suit grainy photographs the best.

Bottom – The Same Shot In Ambient Light And A High ISO Adds Gritty Grain
Photo by Oscar J Harper
You can see that the lower image above, taken with the very high ISO of 6400 adds a great deal of gnarly grain but this actually has a softening, de-focussing effect.
04 – What Aperture And Shutter Speed is Best For Grainy Photos?
You need to stretch the shutter exposure time out as long as possible for the best grainy pictures. You need to force the camera’s sensor to squint into the darkness, strain its eye to drag out the pitiful morsels of light and then corrupt them with artificial amplification – That’s noise! (Grain)
One good way to help this process along is to select a very small aperture to force the shutter speed to be very slow to compensate for the loss of light through the aperture. So, go ahead and try using the smallest aperture you can along with the corresponding slow shutter speed.

05 – Do I Need a Tripod To Take Grainy Photos?
The conclusion of this article appears to be that you need to take photos with very long shutter exposures, a high ISO and small aperture to achieve a good amount of gravelly grain in camera. Therefore it must follow that a good tripod will be required to deliver a sharp image, free from camera shake and unintended blur. Some of the exposures could be in excess of 10 seconds so it would be impossible to handhold the camera for these lengths of time.
06 – How do You Increase The Grain of A Photo in Photoshop?
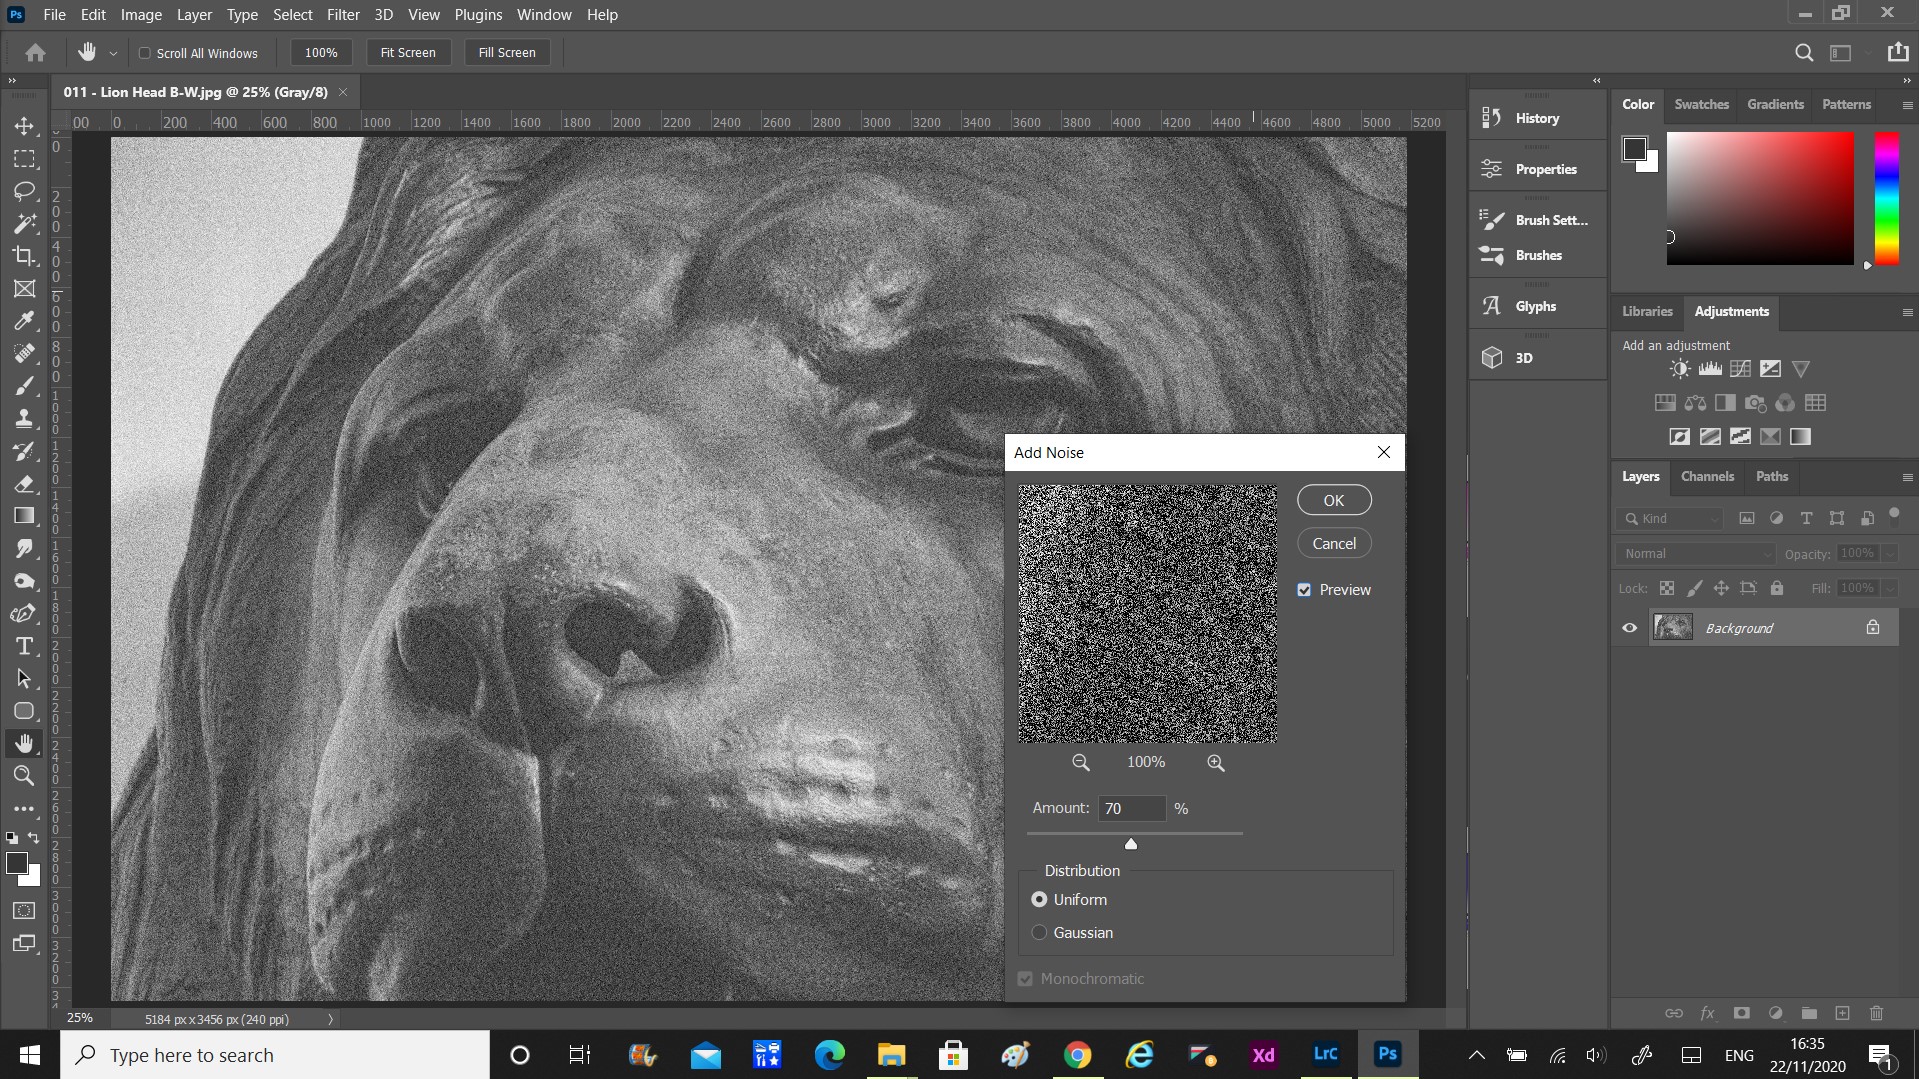
If it is proving virtually impossible to create a decent amount of grain in your photos, you could go ahead and add some “Grain Effect” in Photoshop. There are several ways to achieve this. The first is the simplest but offers the least control over the attributes of the grain. You simply have to open the photograph in Photoshop then choose the:
- Filter (drop-down tab)
- Noise
- Add Noise

Once inside the editor, you are free to change the amount of noise (or grain). You can also change the distribution of noise from uniform to gaussian. There is also the option to have colour noise or monochromatic noise.
This is a fairly good way to add a lot of noise but the next method has more control over the scale, blur and opacity of the grain.
In this version, you create a new additional layer over the original layer. Select the new layer and flood it with a mid-grey fill. Now, edit the fill layer. Choose Filter, Noise, Add Noise. Play with the settings until you are happy then hit “OK”.
In the “layers editor” go to the “Layer Blend” selector and choose “Overlay, Soft Light, Hard Light or Vivid Light” for different degrees of blending. This will make the layer transparent and editable. You can now manipulate the grain layer independently of the main photograph.

You could select the “Grain” layer and scale it up by grabbing the corners and extending the edges of the layer, outside of the frame of the original photo. At this point, you can also adjust the blur of the grain with the blur filter and the opacity with the slider within the layer selection. Before you finish and flatten the image to a Jpeg, don’t forget to select the extended “Grain Layer” and crop it to the size of the original photograph.


Related Questions
What is ISO in Photography And How to Use It?
Understanding ISO is essential for improving your chances of increasing the grain or noise in your photographs. You can read our illustrated guide on the subject of ISO right here on Photography Skool.
What is Shutter Speed in Photography and How to Use it?
Shutter speed is a factor in producing a good amount of gnarly grain in your images. Find out more about this fundamental aspect of exposure by taking a look at our illustrated article here.
What is Aperture in Photography and How to Use it?
It is clear that when setting up an exposure, reducing the aperture allows you to have a longer shutter speed that can increase the grain. Aperture is an essential element of exposure and you can learn more about this important subject on Photography Skool, here.