Your camera sees the light of the world via an in-built light meter. It reads the light that enters it “Through The Lens”; this is known as the TTL system. It sees what you see through the viewfinder. How the meter evaluates the light that it sees depends on how you have asked it to measure the light by choosing a metering mode. So, how do you actually use the in-camera light meter?
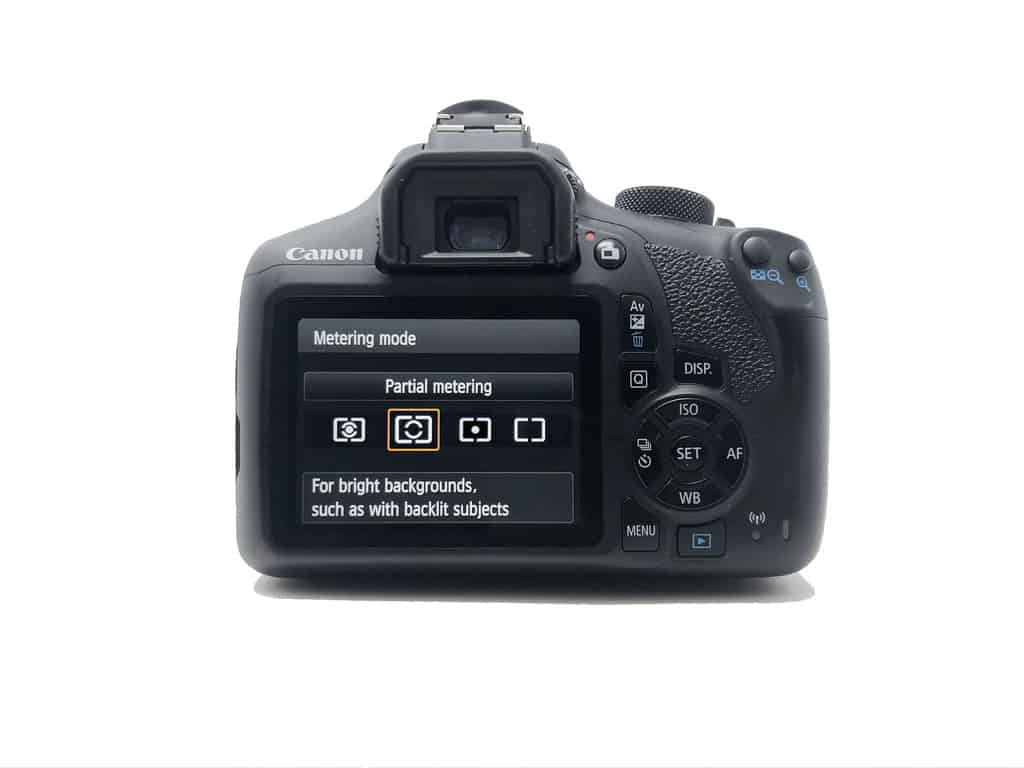
To use the in-camera light meter, choose a suitable mode: Spot (tiny central spot), Partial (a bigger central spot), Centre-Weighted (average with a centre bias), Evaluative (average + focus point bias). Review results and change metering mode if necessary. Amend the exposure up or down if needed.

If you are using fully automatic modes or semi-automatic modes like Shutter and Aperture Priority, the in-built light meter will be working hard to read the light of the scene and keep your exposure neutral ie neither underexposed or overexposed. Sometimes the meter gets confused by a scene and produces a wrongly exposed image. Understanding why this occurs and how the metering works will improve your photos and allow you to override the meter when you need to. The following article will help you to get to grips with this fundamental aspect of photography.
Illustrated Guide to The in-Camera Light Meter
How Does The in-Camera Light Meter Work?
When you look through the viewfinder of your camera you are seeing the scene as an image made up of colours, shadows and highlights. Your cameras light meter sees the reflected and direct light entering “Through The Lens” (TTL) and interprets the scene as a series of pixels of black, white and different degrees of grey. It compares all of these pixels with an average grey tone (18% grey). If the majority of the pixels are darker than the average grey tone it will consider the scene to be too dark and attempt to brighten it up by adjusting the exposure.

The opposite is true if the majority of the pixels are lighter than the average (18%) grey pixel. You can see this happening most clearly in Manual mode as it won’t try to correct the exposure and instead it reveals it’s findings by moving the meter indicator to the left or right depending on the number of pixels darker or lighter than the average mid-grey. If the indicator has moved towards the left, the negative side, it indicates that the light meter predicts that the scene will be underexposed and moving to the right, the positive side, indicates an overexposed outcome.

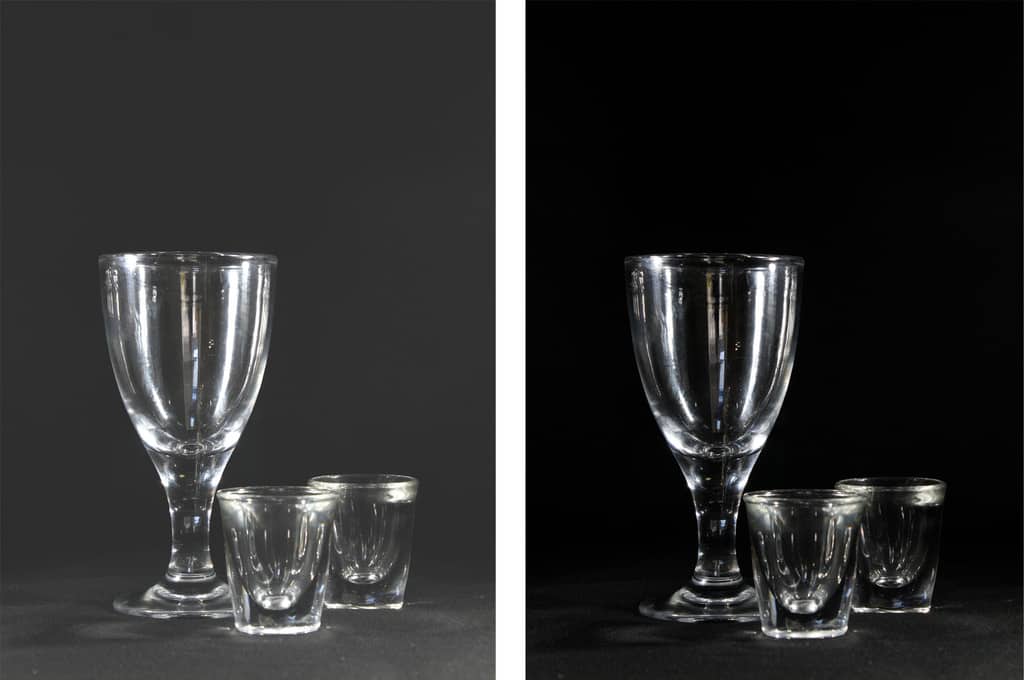
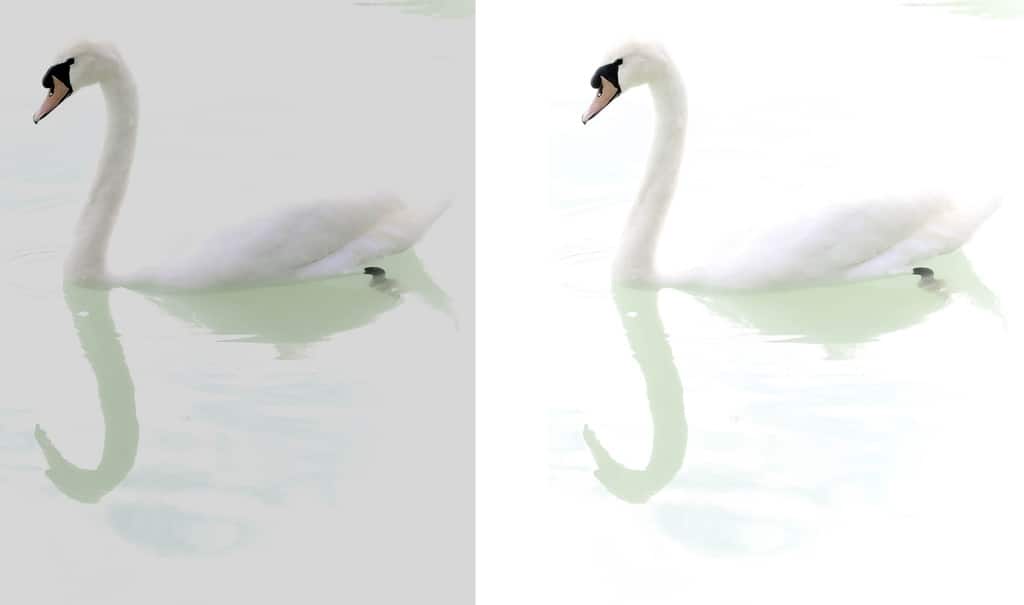
You can see how an average scene with equal parts light and dark would be exposed well by the light meter. A very dark or very light scene could easily confuse the light meter though. This is where knowledge and practice with the light meter in manual mode can help you to produce better exposures as you will learn what types of scenes need to be under and overexposed.

Another way that light meters can be confused is in the way objects absorb and reflect light. Most of the light the meter receives through the lens is reflected light which is not all of the light from the source. The objects absorb light at different rates; the darker the object the more light it absorbs and the less is reflected back into the camera meter.
This makes objects look darker and affect the meter reading by indicating underexposure. With practice, you will learn how to compensate for these discrepancies. The camera does have some more light meter tools to assist you in achieving the correct exposure for a particular scene. They are called Light Meter Modes and the following notes below describe their functions and uses.
What Are The Different Modes of The In-Camera Light Meter?
If you are presented with difficult lighting in a scene, you can direct the camera to specific parts of it to fine-tune the meter reading and avoid averaging errors. There are a number of different modes that can be employed in different situations.

Spot Metering. This is the most precise mode and only considers a tiny spot around the central focussing point (about 2 or 3 percent of the entire image frame). This is most useful if there is an important subject that is well lit but surrounded by a pool of shadows or highlights. You can accurately pick out the small subject and the peripheral pixels won’t be considered in the calculation of the light meter reading.

Partial Metering. Measures a slightly larger area around the central focusing point (around 10 percent of the pixels of the frame). This would be useful for a slightly larger subject that sits in a very contrasty context. Don’t forget that once you have focus locked and metered on the subject with the central focusing point, you can keep holding the shutter half-pressed down and reframe the scene for a more pleasing asymmetric composition before pressing the shutter all the way down. This is possible in any of the metering modes.

Centre-Weighted Metering. The pixels of the whole scene are considered in this metering mode. The pixels of the central area are given a slight bias for the calculation of the meter reading before the whole scene is averaged out. This might be useful if the central subject is quite large in the scene and the periphery is less important. Again, you can reframe after focus locking.

Evaluative Metering. The light meter gathers all of the light from the entire scene but applies a slight emphasis on the area of the scene that the camera is focussed on. This is an intelligent mode as the camera also applies a degree of “exposure compensation” which can assist you if time is short to capture a reasonably well-exposed shot. Evaluative metering would be best employed when shooting quickly and in tricky lighting.
How do You Evaluate a Scene With The Spot Meter?
If you are viewing a scene which is generally well lit but has some areas of dark shadow and strong highlights, you can measure those individual extreme areas accurately with the Spot Metering mode. First of all, you should take a general meter reading of the whole scene. Using “Manual” mode and “Centre-Weighted” metering, view the whole scene and correct the exposure by adjusting the aperture or shutter speed, to get a neutral reading of zero on the light meter. Now switch to “Spot” metering mode, move the camera to focus the central point on the area of dark or light.


If the meter reading is no more than +2 or -2 stops from the centre of the meter, you are in a zone where the detail in the shadow or highlight is recoverable with some post-processing in Lightroom or Photoshop. If the meter reading is beyond +2 or -2 stops try adjusting the exposure settings to make the image a little brighter or darker and bring it into an acceptable range for post-processing.


Conclusion
The light meter is constantly working and is unavoidable so it is important to know how to tame the desire for it to average everything out by selecting the correct mode for each scene. Knowledge of the light meter’s strengths and weaknesses will help you to know when and how to correct the exposure in difficult lighting conditions.
Related Questions
What is The Exposure Triangle?
There are three elements of exposure which explains the analogy of the triangle. Adjusting any of them affects how the light meter reads the light of the scene. To find out more about this very useful aspect of photography, you can read our article on this website right here.
What is Exposure Compensation in Photography?
Sometimes it is necessary to overrule the decisions of the cameras light meter. This is achieved by Exposure Compensation and you can learn more about this in our illustrated guide by clicking here.
What Are The Canon Shooting Modes on an EOS Rebel T6/1300D/Kiss X80?
For a detailed overview of all the camera shooting modes on an entry-level DSLR see our comprehensive guide here in Photography Skool.

