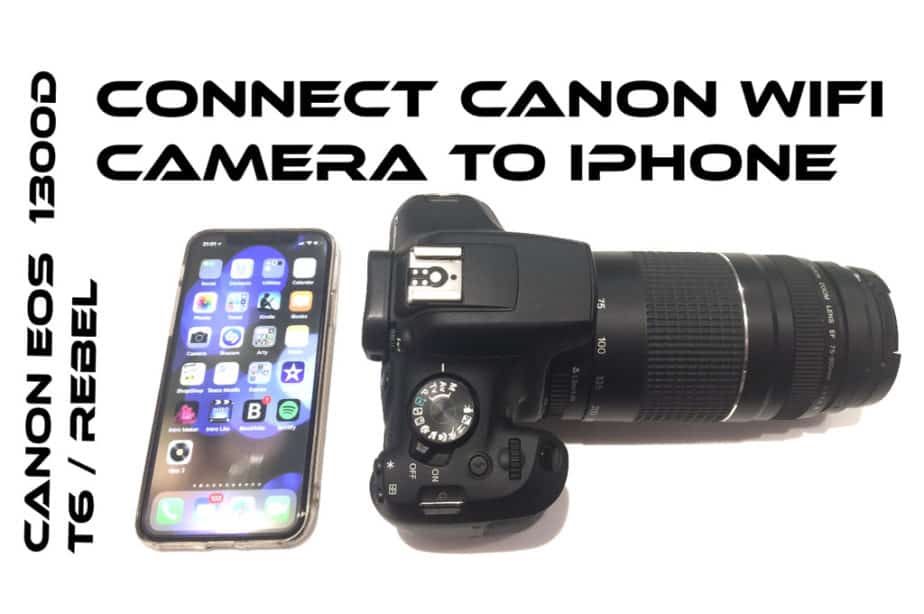

The Canon EOS Rebel T6 also known as the 1300D in the UK and the Kiss X80 in Japan is a very capable, entry-level camera for your first dive into the world of DSLR photography. It can actually generate its own local WIFI hotspot. If you have a smartphone like an iPhone, it means that you can connect to it, wherever you happen to be in the world.
(This post may contain affiliate links which means I may receive a commission (at no extra cost to you) for purchases made through links. Learn more on my Privacy Policy page.)
Once connected, you can control the camera, see a live view from the camera on your phone screen or copy photos directly to your phone from your camera. It is very easy to connect your Canon camera to your iPhone to unlock all of these features, here’s how to do it:
To connect Canon EOS Rebel T6/1300D/Kiss X80 to iPhone:
- Download “Canon Connect” App. onto your iPhone.
- On the camera, Enable WiFi in “Menu”.
- Register nickname.
- Go to “WiFi function”, “Connect to smartphone”, “Easy connect”.
- Note the “Encryption Key”.
- On the phone, go to Wifi, connect to camera, enter “Encryption Key”.
- Open App, connect to the camera.
- On camera press “OK”.
That was a quick explanation and should get you going but for a more comprehensive list of actions see below for the detailed guide.
“As an Amazon Associate, I earn from qualifying purchases.”
Check out the latest Canon DSLR cameras on Amazon US here.
Check out the latest Canon DSLR cameras on Amazon UK here.
Detailed Guide to Connecting Canon EOS Rebel T6 – 1300D – Kiss X80 to an iPhone
- To connect Rebel T6/1300D/X80 to iPhone, first of all, download the “Canon Connect” App. from the App Store and open it.
- On your camera, select any of the shooting modes except the Video/movie mode (Remote connection is not allowed in that mode)
- Now press the Menu button on the back of the camera.
- You will see a selection of settings menus across the top of the screen display. (You can Navigate the menus by using the circular buttons around the “Set” button. use them to go Left, Right, Up and Down)
- Navigate to the third yellow “Wrench/Spanner with 3 dots” menu.
- Choose “Wi-Fi/NFC” by navigating with the Up and Down buttons.
- Press the “Set” button to select it.

- Navigate to select “Enable” using the Left and Right buttons.
- Press the “Set” button to select that.
- As it is the first time connecting to your phone, you will be asked to register a Nickname at this point. You can either change it to something you will recognise with the on-screen keyboard or leave it as it is. This will become the name that you see on your phone in the Wi-fi list when you come to connect to the camera.

- Press the “Menu” to “OK” that.
- On the next screen select “OK” again and press the “Set” button to confirm the action of saving the Nickname.
- You will find yourself back at the third yellow wrench/spanner menu. Navigate down using the Down button to “Wi-Fi function”.
- Press the “Set” button.

- Now you will see 4 Icons for devices that you can connect to:
- Transfer imgs between cameras
- Connect to a smart phone
- Print from Wi-Fi printer
- Upload to a Web service
- Select the “Connect to smartphone” Icon and press the “Set” button.

- Select the “Easy connection” option.
- Select the “OK” option and press the “Set” button.
- You will now see a “Waiting to connect” screen. At the bottom of the screen, you will see an “Encryption Key”.
- Make a note of the “Encryption key” as this will become the Wi-fi password you will need to enter on to your phone later.

- Now go to the “Settings” on your phone.
- Navigate to the “Wi-Fi” settings and tap to open it.
- Make sure Wi-Fi is switched on. Your camera is now trying to establish a connection with your phone by transmitting its Wi-Fi signal to your phone.
- Look for EOS Camera on the list of devices to connect to. It should have the Nickname that you gave it on the camera earlier.
- When you see it appear on the list, tap to select it.

- Now enter the “Encryption Key” as the password.
- The camera Wi-Fi connection is now established and running.
- Go back to the “Camera Connect” App, it should show you that your camera has been found.
- Tap on your listed camera to connect to it.
- Go back to the camera. There will now be a confirmation to “Connect to this smartphone: iPhone” on the camera’s rear screen.
“As an Amazon Associate, I earn from qualifying purchases.”
Check out the latest Apple iPhones on Amazon US here.
Check out the latest Apple iPhones on Amazon UK here.

- Select “OK” and press “Set” to connect to the iPhone
- You are now fully connected to your camera via your phone.
- You can use the phone as a remote control to shoot live or you can download images to your phone.
What Can You do When You Are Connected to Your Canon EOS Camera by Wifi?
Once the camera and the phone are connected via the Wi-fi connection generated by the camera, you will be presented with the opening screen of the “Camera Connect” App by Canon. You will see that there are two main options:
- Remote live view shooting
- Images on camera

Remote Live View Shooting
We will first look at what we can do in “Remote Live View Shooting Mode”. Tap on that option and you will immediately see that the cameras rear screen view is disabled and the camera’s mirror is locked up. Now look at your phone screen, you will see a live view of whatever the phone is seeing. You can’t control the zoom from the phone but you can control the focussing by tapping anywhere on the image on the screen or go to settings and tap on the “Show AF button”. You will see a white, circular shutter button to press when you are ready to take a shot. Below that you will see a letter code on the left indicating which Shooting Mode you are currently using. Next to this, if you are in Manual mode (M) you will have access to:
- Tv (Shutter Speed)
- Av (Aperture)
- ISO (Light Amplification)
- White Balance – All the settings and Custom WB
- Autofocus Modes
- Motor Drive Modes
- Manual Focus Trimming Buttons.


You will have full access to the settings for these important aspects of exposure and camera controls. Using the sliders you will be able to change the Shutter speed, Aperture size and ISO settings. Any changes in exposure will be reflected live on the screen as it will go darker or lighter to show the changes as they happen.
If you choose The (Av) program you will be able to select the Aperture size and the ISO with the sliders. You also have the option of controlling the Exposure Compensation by dialling in up to 3 “stops” of overexposure or underexposure. You will see these changes live on the phone screen to show exactly how light or dark your images will be after exposure. You will also have access to the White Balance settings, the Autofocus modes, Motor Drive controls, Self-Timers and some Manual Focus trimming buttons.

Choosing the (Tv) program is the same as above except you will have full control of the Shutter Speed settings instead of the Aperture size.
In (P) mode you will have access to the ISO settings and Exposure Compensation settings. Additionally, you can control the White Balance, Autofocus modes, Motor Drive, Self Timers and some Manual Focus trimming buttons.
In (A+) mode and “Disabled Flash” mode you can’t control any of the exposure settings but you have access to the Autofocus modes, Motor Drive, Self-timers and some Manual Focus trimming buttons.
In (CA) mode and all the other basic modes like Portrait, Landscape, Close-up, Sports, Food and Night Portrait, you only have access to the Autofocus modes, the Motor Drive, Self-Timers and some Manual focus trimming buttons.
You cannot connect to the phone in Video mode.
One last note on switching modes whilst connected to the camera with your phone. If you switch modes, the Wi-Fi connection will be lost and you will have to go through the process of connecting again using the method described above.
View The Images on The Camera’s Memory Card
From the “Remote Live Shooting” screen, hit the back (<) button to go to the main screen. Tap on the “Images on Camera” option. You will now see the images presented with a small thumbnail and some data such as the image number, date and time of the photograph and the exposure settings.

At the bottom of the screen, there are four more options for viewing the images. The first one is “View”. Tap this and you can choose to view the thumbnails as a grid that is 2 images wide, 3 images wide, 4 images wide or back to a vertical list. Tapping on any image will open it up to full size then you can swipe left and right to see the next image.

In full-size mode, you have some new options at the bottom of the screen. You can now tap on one to see more info. about the image, you can give the image a star rating, you can choose to import the single image to the camera photo gallery, you can choose a printing App to send it to or you can delete the single image by tapping on the “Bin” icon. Tap on the Back key (<) to return to the grid or list.
Download Images from the Camera to Your Phone
Whilst in the Grid or List page you will see a “Select” option in the top right of the screen. Tap on this and some empty circles will appear on all of the thumbnails. Tap on any circle to select it and it will be filled with a solid checkmark or tick. You can select multiple images.
Photo 15

Once selected you can import them to the phone’s Photo Gallery. Go to the bottom of the screen and tap on the “Import” option in the middle. A screen will then ask you if you want to import them at reduced size or the original size. Make your choice then tap OK.

Once they are imported, you can choose to open the photo app on your phone to view them, share them or edit them. Tap the “x” at the top-right if you want to go back to the grid view of the thumbnails. To quit the application, tap the back button on the grid page to take you back to the main opening page. Now, just tap the little “x” button, you will be asked if you want to disconnect the camera. Tap on the “Yes” and you are finished.
To save the camera battery life it is best to disable the Wi-fi signal from coming from the camera. So, go back to the “Menu” button on the back of the camera, navigate to the 3rd yellow wrench menu, select “Wi-Fi/NFC” section, then choose “Disable” and you’re done.
Photo 17

Related Questions
How to Set Custom White Balance, Canon EOS Rebel T6/1300D/Kiss X80
This is a very useful tool to make the colours in your photos look more natural. It’s a relatively simple process. Click here to read more.
What Are The Canon Shooting Modes on an EOS Rebel T6/1300D/Kiss X80?
For a detailed overview of all the camera shooting modes on an entry-level DSLR see our comprehensive guide here in Photography Skool.
